Multithreading and more…
Posted in Procedural world, Zombox on January 30th, 2015 by Tyson IbeleSo since the very inception of Zombox, I’ve always been fighting with Unity, trying to get it to pump out as many polygons as possible without getting too many slowdowns on mobile devices. Zombox features a huge open world, so this has always been a massive challenge.
When I first started working on the game, I made sure everything was super low poly. Then I learned that Unity can batch geometry to the GPU if it’s low-poly and shares the same material — so I made sure all the geometry in the city used only one material with a large texture atlas. Then when that wasn’t enough, I simplified the geometry on everything further. After that, I developed a seamless world-culling system so that the only geometry that would ever be loaded is what would be on-screen at the time. Even then, I was always treading a very fine line with regards to performance. I had to be very careful not to group too many objects together in the city or draw calls would get too high and the game would chug.
In December I described my custom batching solution to the draw call problem. However, while my batching system greatly reduced draw calls, it created another problem that was still lingering: the batching system itself has a pretty high CPU overhead. It’s not high enough to negate its positive effect on overall performance, but it’s still high enough to be a pretty serious problem. After all, nobody wants to experience annoying framerate hits every few seconds as they walk around the game world.
This week I realized that basically all mobile devices I’m targeting have at least 2 cores in their main CPU (iPhone 4S and above). So with that in mind, I decided to try multithreading the batching system I developed. One of the downsides of Unity is that you cannot access any UnityEngine classes from secondary threads (thereby making multithreading for all built-in Unity objects impossible). But, one of the upsides of my new batching system is that it doesn’t actually rely on any UnityEngine classes! So with that in mind, I was able to quickly and easily shift all mesh calculations (besides those that actually assign the final vert/uv/color/triangles sets to the Unity Mesh objects) to a second thread.
And voila! This idea turned out to work almost like magic! I can now pump *tons* of geometry at my batching system with almost no impact on the core thread of the game — meaning that no matter how complicated the city’s geometry is (within reason), it will never cause the game to stutter or slow down. The game actually runs faster now, with *twice* the amount of on-screen geometry, than it did before with half that geometry!
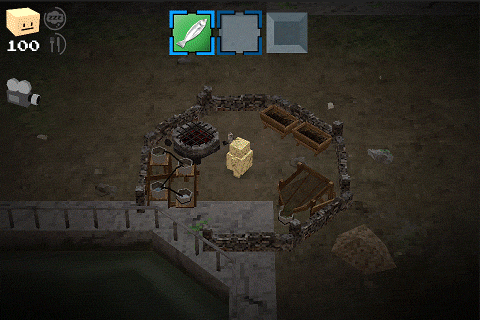
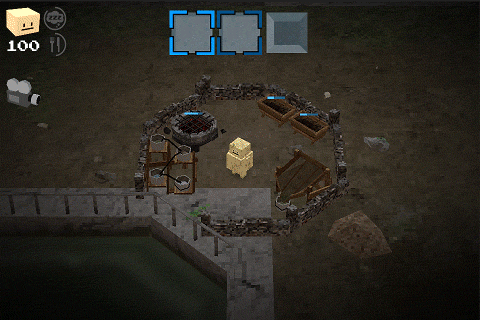
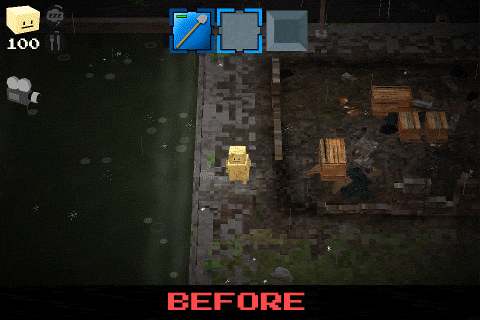
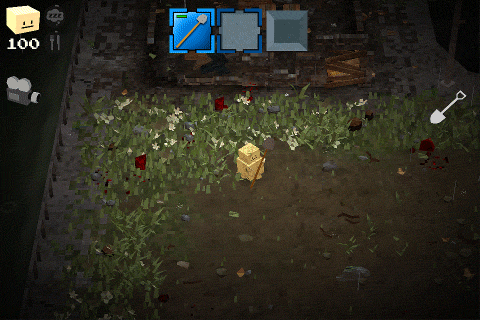
So this has allowed me to add some stuff to the game that I’ve been wanting to add for years, but never knew how I could do it without killing performance — namely, grass, twigs, stones, debris, and all sorts of other ground details! For years the game has consisted of nothing more than buildings and props on top of completely flat textured planes. There were a few minor ground details scattered throughout, but they were very limited in their distribution to keep them from lagging the game. But not anymore! Check out this before/after animation and take note of all the extra ground detail:
All of this is now easily possible, without any impact on the game’s overall performance! It has been an exciting week for sure.
Now, multithreading my batching system was only one half of what was accomplished this last week. The other half was figuring out a simple, memory-efficient way of being able to quickly identify what type of substance each point of the city’s ground surface consists of. In order to add grass, and other details throughout the world, I need to know where those details should go. After all, we don’t want grass growing inside houses or on the road, for example.
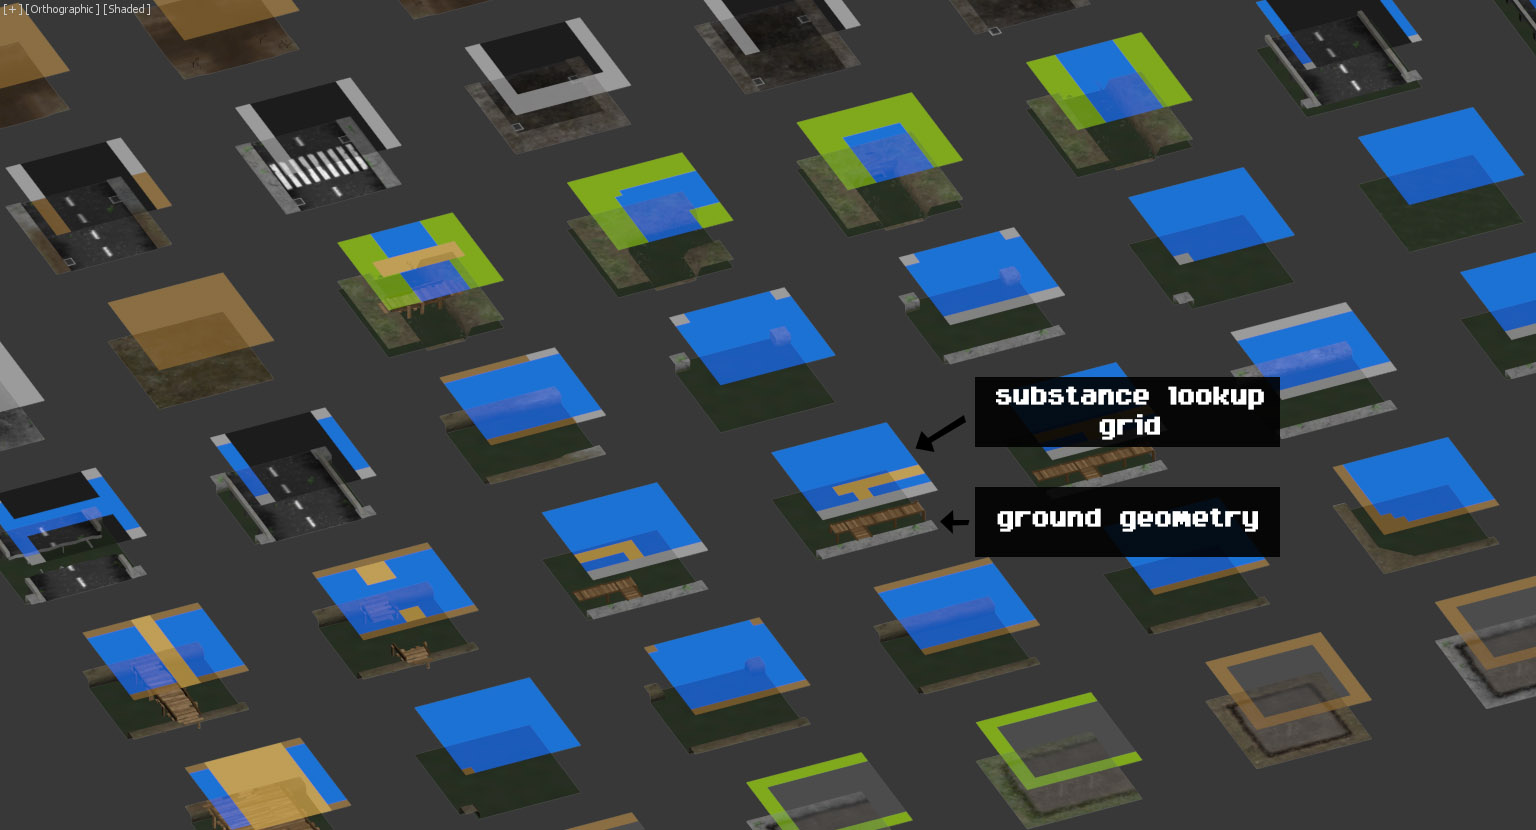
My solution was to define a grid in 3d space, in 3d studio max, that uses material IDs to specify different types of ground substances. The grid system is resolution-independent so that some ground tiles can have less dense grids than others (after all, we don’t need hundreds of grid cells to tell us that the middle of the ocean is composed of water, but we might need hundreds of cells to differentiate between grass patches, mud patches, concrete patches and other substances within the city). This grid is then exported from 3dsmax into a pre-built C# file that auto-loads this substance information into Zombox without any extra computations/loading required. The result is very fast grid->substance lookups that give the game quick access to all the information it needs about what is under the player’s fee, with very little memory overhead.
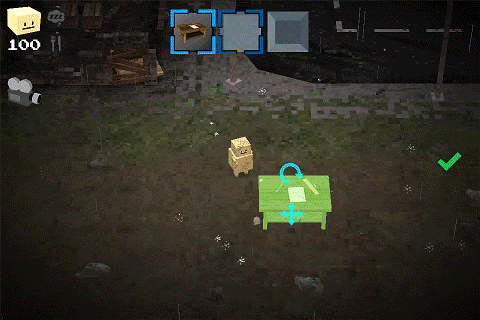
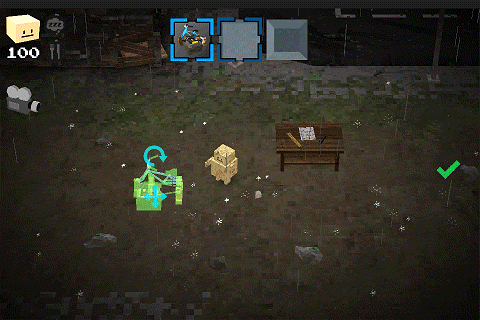
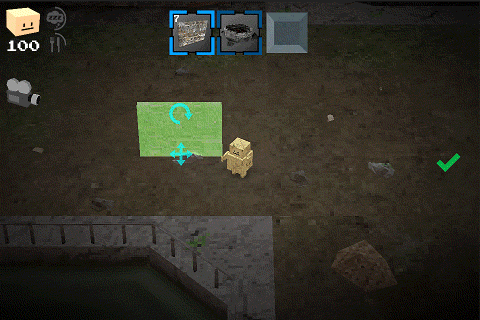
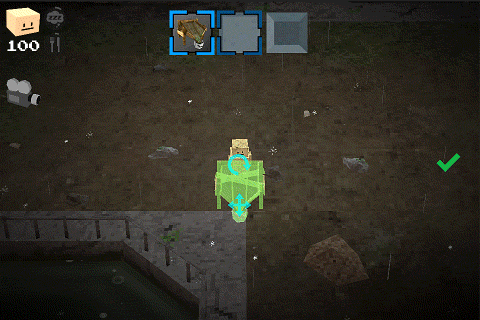
And the added benefit of this system is that being able to identify ground substances means I can allow the player to do things like…dig! We wouldn’t want the player to be able to dig dirt out of the sidewalk or the road…but if we can find out that the player is standing on some dirt…well, it would make sense to allow for some digging there! This substance lookup system is perfect for that. As you can see, when the player steps onto dirt, the shovel icon appears and he can dig for dirt/clay, which can then be used in various crafting recipes. The substance information is also useful for other purposes as well….it’s an easy way for me to perform checks that prevent players from being able to craft over water, or it allows me to do things like add particle effects for when the player is running through tall grass, etc. Eventually it might lead to the inclusion of other easter eggs…like the ability to dig up treasure?….We’ll see!
Here’s an animation of the player digging up dirt items, which can later be collected and used for crafting:
Apologies for the long post, hopefully some people find it informative!